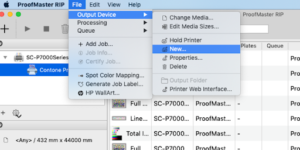
Start the ProofMaster RIP and, on the File menu, point to Printer and select New
The Properties dialog box will appear
Type a memorable name for the printer. This helps you identify which printer you’re using later on, which is useful if you have two or more printers that are the same model.
Choose the printer manufacturer and model from the drop-down list, like this, and define the Connection settings
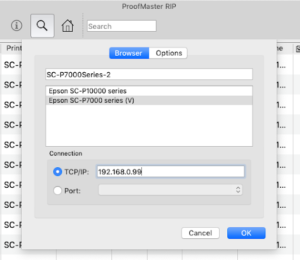
- – For USB connections, select a printer Port.
- – For TCP/IP connections, enter the IP address of the printer.
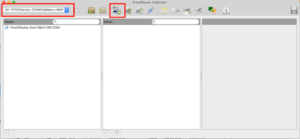
Click OK, the new printer’s name will appear in the main window – and that’s it.
Go to the Calibrator Application. In the top left hand corner, there’s a dropdown.
Click on it, and choose the printer you’re making a media profile for.
Then, in the Icon bar at the top of the window, select the VISU icon with a + sign
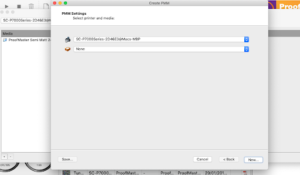
In the next popup window, choose the printer again – but don’t select a queue – and press ‘New’
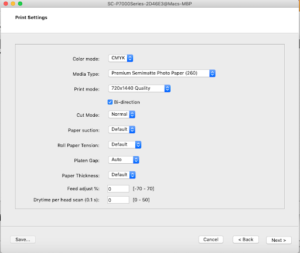
If you’re proofing, type in these values – you’ll need to change the Media Type to suit the media you’re using – and then click ‘Next’
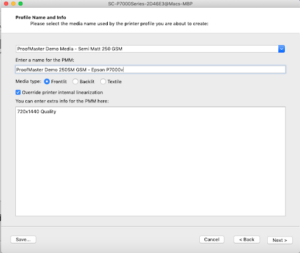
Give your profile an appropriate name. It helps if it’s something other people will recognise too. Then, put a tick in the ‘Override printer internal linearisation’ box, like in the image.
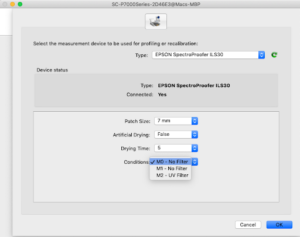
Make a new printer linearisation by printing the charts, making sure you have set the spectrophotometer to the settings you desire, and the correct media size is loaded
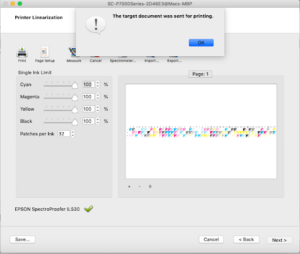
When you’re ready press the ‘Print’ Icon.
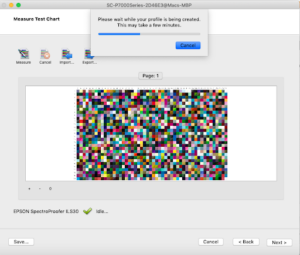
The chart will be sent to print, and you’ll get this system message.
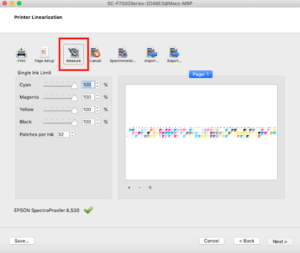
If you’re using the ILS20 or ILS30, then the printer will print and measure the chart automatically. If you’re not using the ILS20 or ILS 30, you’ll need to press the ‘Measure’ Icon after the printer has finished printing, and click ‘Next’.
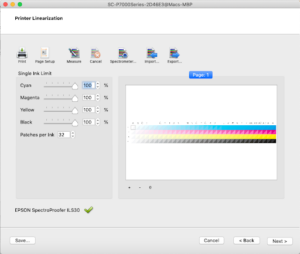
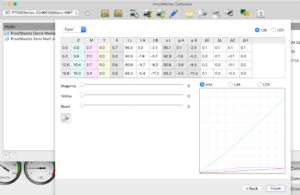
As soon as the values have been received, the patches will all be populated with colour.
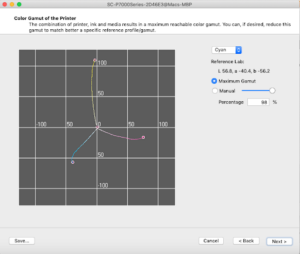
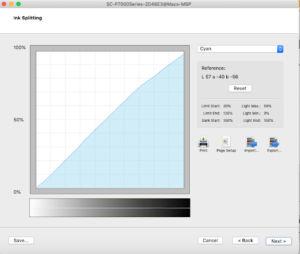
Now you can check the printer / media combination’s available gamut.
Ink Splitting is automatically decided in CMYK mode. There’s no need to change anything at this stage (unless you want to, of course). Just click ‘Next’.
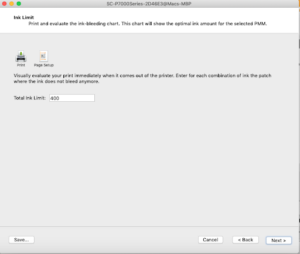
Usually there’s also no need to make manual adjustments to the Total Ink Limit. As long as you’ve chosen the right media pre-set, this will all be done for you.
Click ‘Next’
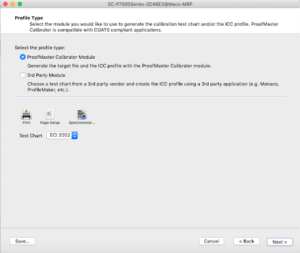
You’re ready to make the PMM for the printer and your media.
Select ProofMaster Calibrator Module. Double check you’ve got the right spectro and media settings before printing the ECI chart.
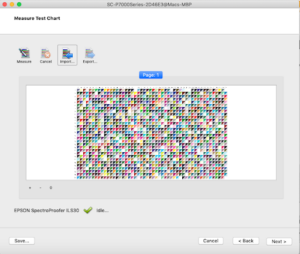
You can measure the chart with your spectro, just as you would normally.
The chart is measured automatically with ILS20 and ILS 30. Just click the ‘Measure’ icon when the printer’s finished, and the patches will be populated as the process completes.
Click ‘Next’
When the data’s been received, all of the patches will be filled.
Click ‘Next’, and your profile will be calculated
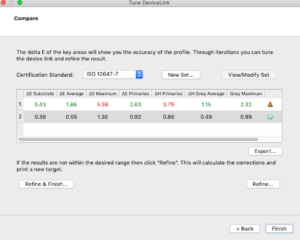
Now you’ll be shown the validity of the PMM versus the ISO Coated standard. Click anywhere on the window; you’ll be able to rotate and manipulate the tool.
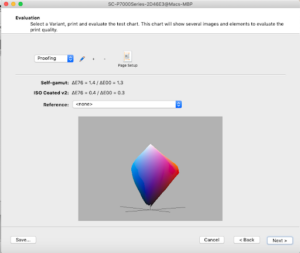
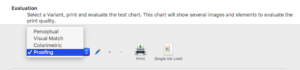
Select the variant you want to use – in this case, it’s Proofing.
Click ‘Next’, and you’ll be shown the profile’s details – and that’s it.
Click Finish to exit the profile wizard.

Proofing Variant
Proofing is an absolute conversion. It’s based on the maximum colour gamut of your machine, and it’s the only variant you should be using for contract proofing.
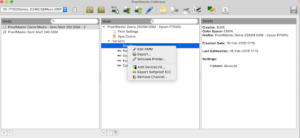
Right click the Variant Proofing and select ‘Add Device’
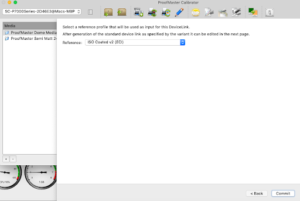
Choose your reference from the drop down list. Select ‘Commit’, and ProofMaster will build your device link for you.
Now, click Finish – and that’s it. Your device link profile is ready to use.
If you want to, you can start proofing with this profile straight away. Or, if you prefer, you can tune it (which is what we recommend for contract proofing). Here’s how:
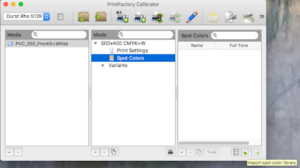
Select the profile variant proofing – and select the Tuning icon in the icon bar, as shown in the image.

Repeat the printing and measuring of the profiling chart until you’re happy with the device-link Delta-e values.
If a spot colour requires some manual tuning to bring it visually closer to the desired colour then it can be imported into the PMM:
After it is imported you can use the Tune tool to print a swatch chart that will allow you to choose a patch that is closer to the desired colour.
Your tuned spot colour will now be used instead of the spot colour from the pre-installed libraries, but only when printing with the PMM you have tuned it in. Once tuned just click the disc button top right of the menu bar to save the tuned spot in the PMM.
You can also create your own spot colour libraries by adding your own named spot colours to the PMM. Click the + button and give your spot colour a name and output values either by manual entry or via a supported SpectroPhotometer with spot measurement capability.
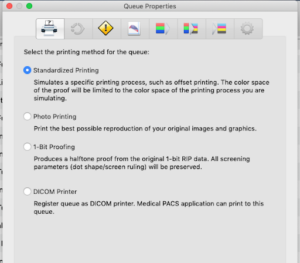
For Proofing, select Standardized Printing
Give the new Queue an appropriate name
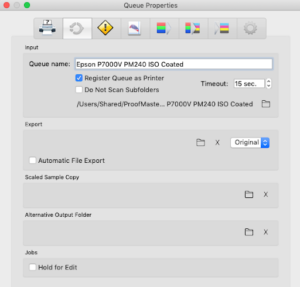
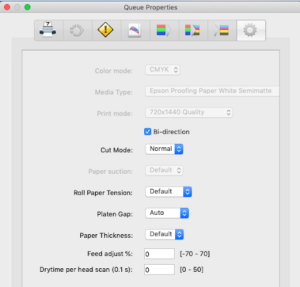
You can use the default settings here, for ease.
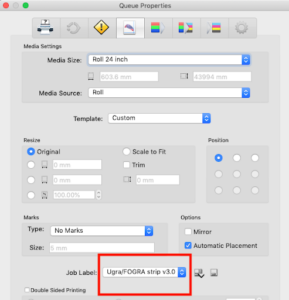
Select the media wedge. If you’ve chosen ILS, then the queue will be set to auto certify your proofs and print a label next to the media wedge.
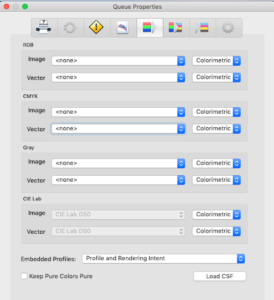
For proofing, we recommend you don’t change these RGB settings (but we’ve included them here as a useful reference.
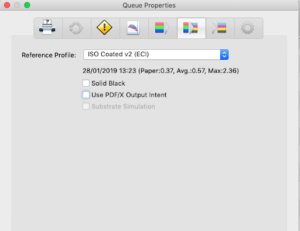
On the next tab, we’re defining the target reference profile, selecting the correct device-link from the PMM. (If there’s no matching device link in the PMM, then the software will create a new one – but it won’t tune it automatically.)
Important: Unless you have a full PDF/X workflow, don’t select ‘Use PDF/X Output Intent’ – and don’t select Solid Black
On the Calibrator tab, you’ll see all PMMs that are available. Choose the relevant one for your proofing media and printer.
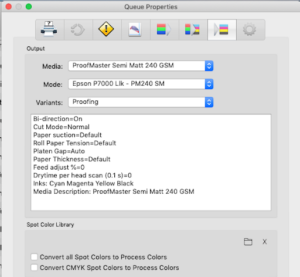
On the last tab, you’ll find these settings already pre-defined. There’s no need to change them. They’re set up to give you the best results, automatically.