This couldn’t be easier:
- Follow the instructions in the email
- If you don't get an email then please check your spam
You’re ready to go.
Setting up new printers
Setting up new printers takes a few seconds. For best results, we recommend you have three printers maximum per RIP.
STEP 1 - Adding a new device
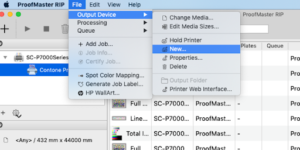
Start the PrintFactory RIP and, on the File menu, point to Printer and select New
The Properties dialog box will appear
Type a memorable name for the printer. This helps you identify which printer you’re using later on, which is useful if you have two or more printers that are the same model.
Choose the printer manufacturer and model from the drop-down list, like this, and define the Connection settings
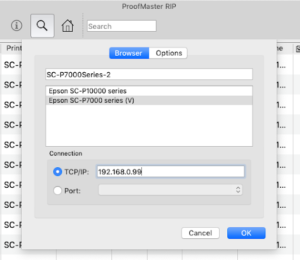
- – For USB connections, select a printer Port.
- – For TCP/IP connections, enter the IP address of the printer.
Click OK, the new printer’s name will appear in the main window – and that’s it.
You’re ready to go.
Creating new printer profiles
To control the output of inkjet printers, PrintFactory uses two device link profiles inside one, single Printer Media Mode file (PMM). Each PMM bundles a complex mix of driver settings together, to handle the unique combination of your printer and your media.
These include:
- Printer model-specific driver settings
- Compensation data for ink limits and linearisation
- A custom-generated ICC Device Link profile
The media profile is used for device calibration and re-calibration, while the device link is used to match your production standard.
How to Make a Media Profile
How to Make a Device Link Profile
Go to the Calibrator Application. In the top left hand corner, there’s a dropdown.
Click on it, and choose the printer you’re making a media profile for.
Then, in the Icon bar at the top of the window, select the VISU icon with a + sign
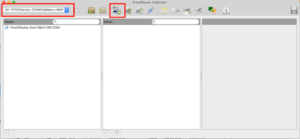
In the next popup window, choose the printer again – but don’t select a queue – and press ‘New’
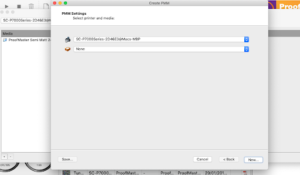
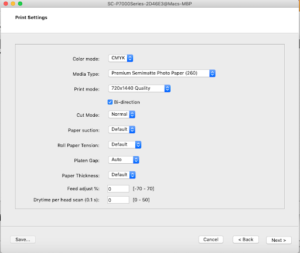
If you’re proofing, type in these values – you’ll need to change the Media Type to suit the media you’re using – and then click ‘Next’
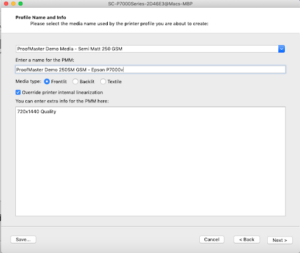
Give your profile an appropriate name. It helps if it’s something other people will recognise too. Then, put a tick in the ‘Override printer internal linearisation’ box, like in the image.
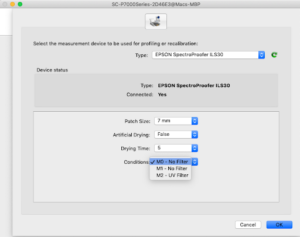
Make a new printer linearisation by printing the charts, making sure you have set the spectrophotometer to the settings you desire, and the correct media size is loaded
When you’re ready press the ‘Print’ Icon.
The chart will be sent to print, and you’ll get this system message.
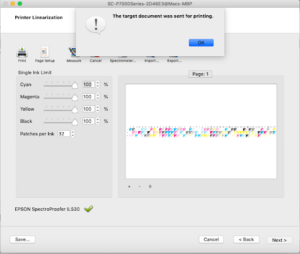
If you’re using the ILS20 or ILS30, then the printer will print and measure the chart automatically. If you’re not using the ILS20 or ILS 30, you’ll need to press the ‘Measure’ Icon after the printer has finished printing, and click ‘Next’.
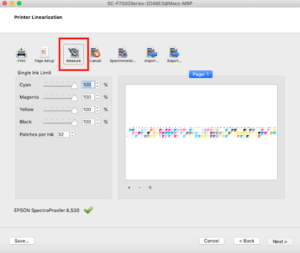
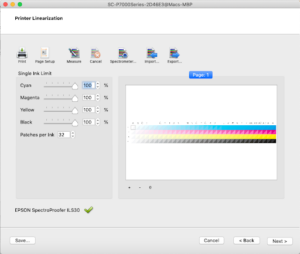
As soon as the values have been received, the patches will all be populated with color.
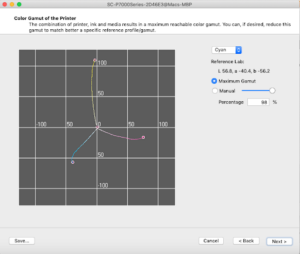
Now you can check the printer / media combination’s available gamut.
Ink Splitting is automatically decided in CMYK mode. There’s no need to change anything at this stage (unless you want to, of course). Just click ‘Next’.
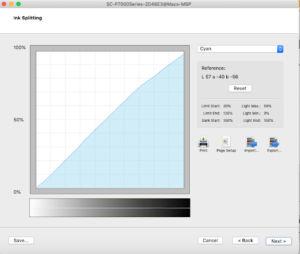
Usually there’s also no need to make manual adjustments to the Total Ink Limit. As long as you’ve chosen the right media pre-set, this will all be done for you.
Click ‘Next’
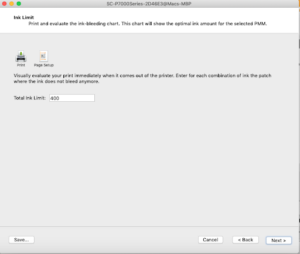
You’re ready to make the PMM for the printer and your media.
Select PrintFactory Calibrator Module. Double check you’ve got the right spectro and media settings before printing the ECI chart.
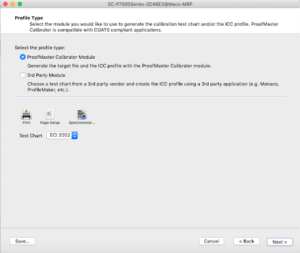
You can measure the chart with your spectro, just as you would normally.
The chart is measured automatically with ILS20 and ILS 30. Just click the ‘Measure’ icon when the printer’s finished, and the patches will be populated as the process completes.
Click ‘Next’
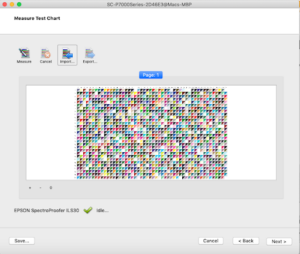
When the data’s been received, all of the patches will be filled.
Click ‘Next’, and your profile will be calculated
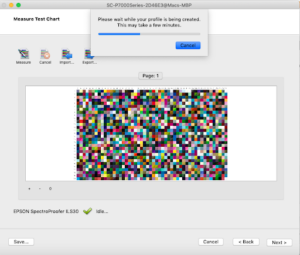
Now you’ll be shown the validity of the PMM versus the ISO Coated standard. Click anywhere on the window; you’ll be able to rotate and manipulate the tool.
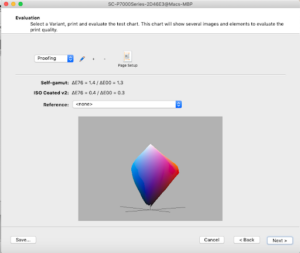
Select the variant you want to use – in this case, it’s Visual Match.

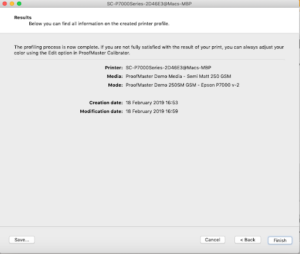
Click ‘Next’, and you’ll be shown the profile’s details – and that’s it.
Click Finish to exit the profile wizard.
Spot Color libraries
PrintFactory comes pre-installed with a selection of the most commonly used Spot Color libraries such as:
- PANTONE+ Solid Coated
- PANTONE+ Solid Uncoated
- PANTONE+ Pastels & Neons
- And many more
When your artwork contains spot colors from the pre-installed libraries they are automatically mapped to the correct LAB values.
Tuning Spot Colors
If a spot color requires some manual tuning to bring it visually closer to the desired color then it can be imported into the PMM:
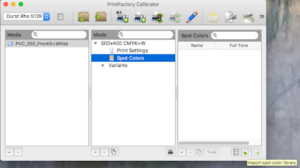
After it is imported you can use the Tune tool to print a swatch chart that will allow you to choose a patch that is closer to the desired color.
Your tuned spot color will now be used instead of the spot color from the pre-installed libraries, but only when printing with the PMM you have tuned it in. Once tuned just click the disc button top right of the menu bar to save the tuned spot in the PMM.
You can also create your own spot color libraries by adding your own named spot colors to the PMM. Click the + button and give your spot color a name and output values either by manual entry or via a supported SpectroPhotometer with spot measurement capability.
That’s it. Your spot color will now be available for that profile, using it as the reference for any matching named colors in the artwork.
Note. If there is a custom spot color in the file that is not in the PMM or the Library, then as long as it has a Lab value associated with it, then it will be rendered as if it were a custom spot color.